This guide details how to setup the TP-Link Archer VR500v modem router for the following connection types: Fibre to the Curb, Fibre to the Premises, HFC, and Fixed Wireless

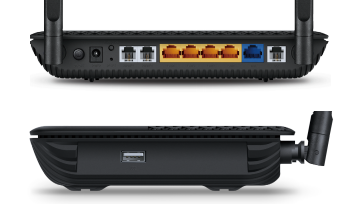

The interface of the TP-Link Archer VR500v modem is generally accessed via 192.168.1.1
You can also access the interface by http://tplinkmodem.net
Basic Setup
If the modem is in default mode it will prompt you to setup an interface access password

Once you have setup the interface password you will be redirected to the Quick Setup wizard and prompted to enter your region and time zone
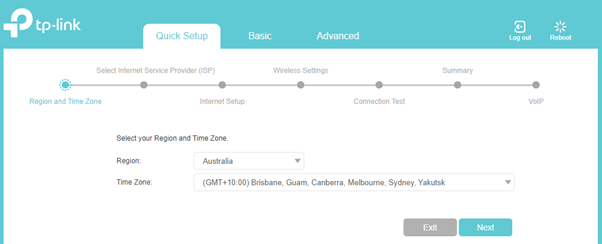
You will then be asked to select your ISP, it is at this point we need to exit the Quick Setup Wizard

Setting up Ethernet
Select Advanced from the top menu
Then select Network and ETH Internet from the left hand menu and delete the existing connection by clicking the Trash icon
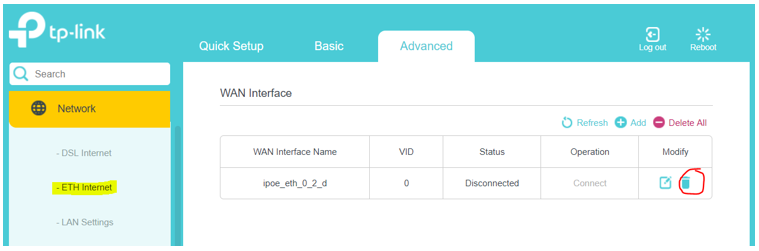

Once you have deleted the existing interface you can then Add a new one

Select PPPoE and enter your username and password provided by Vonex and select OK
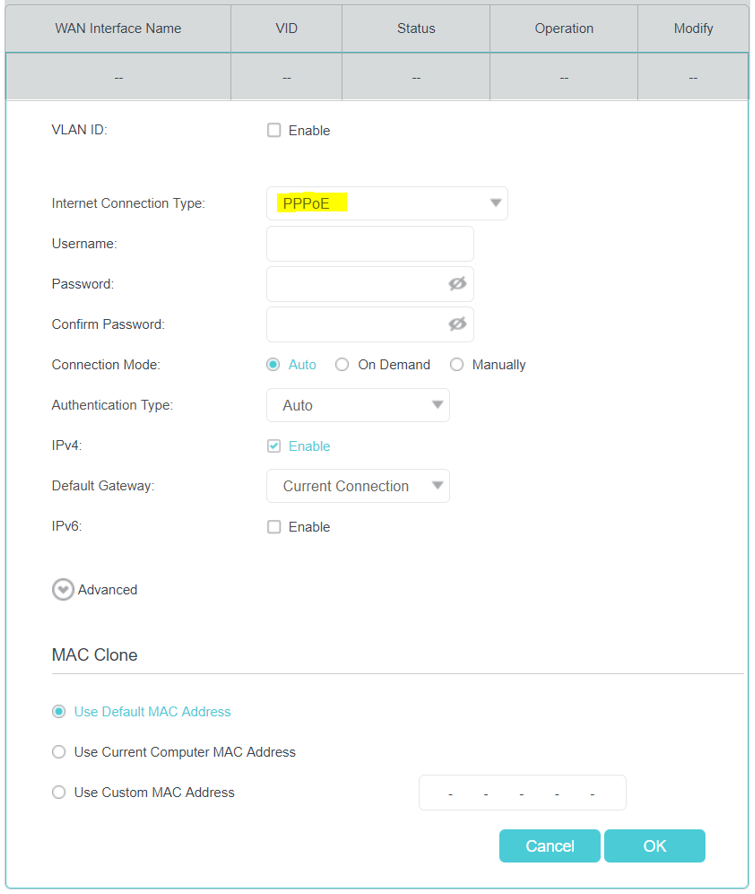
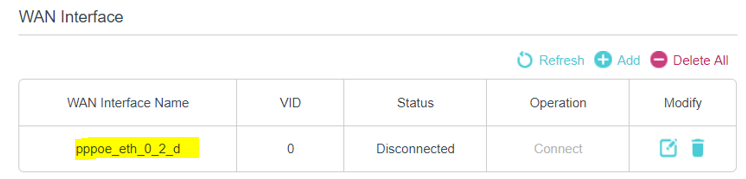
The WAN Interface will now display as pppoe_eth
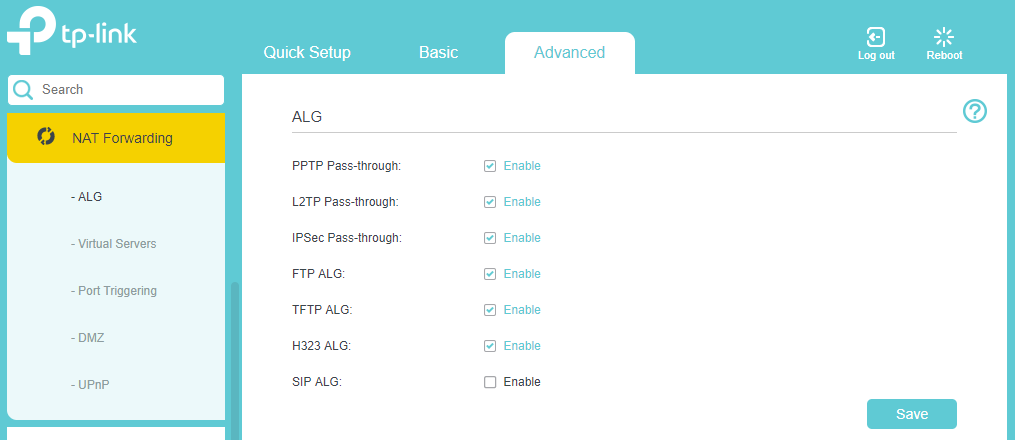
Disabling SIP ALG
We recommend that you disable SIP ALG within your modem by selecting:
Advanced > NAT Forwarding
Un-tick SIP ALG and Save
Setting up VoIP
If you do have Vonex Hosted Voice and know your credentials you can setup your VoIP page as follows:
Phone Number: Your Hosted Voice Extension
Registrar Address: Your Hosted Voice Domain
Authentication ID: Your Hosted Voice Extension
Password: Your Hosted Voice password

For more information in configuring the Archer VR500v for VoIP please contact Vonex at helpdesk@vonex.com.au to assist you with further setup
Logistics
Comments